Looking to try your hand at making a specific color to match your hardware or other components? We are starting to offer un-dyed part kits for our frames to allow you to dye your own color or even request us dye the parts for you. Either way dying Nylon parts is very easy and super quick with the right tools.
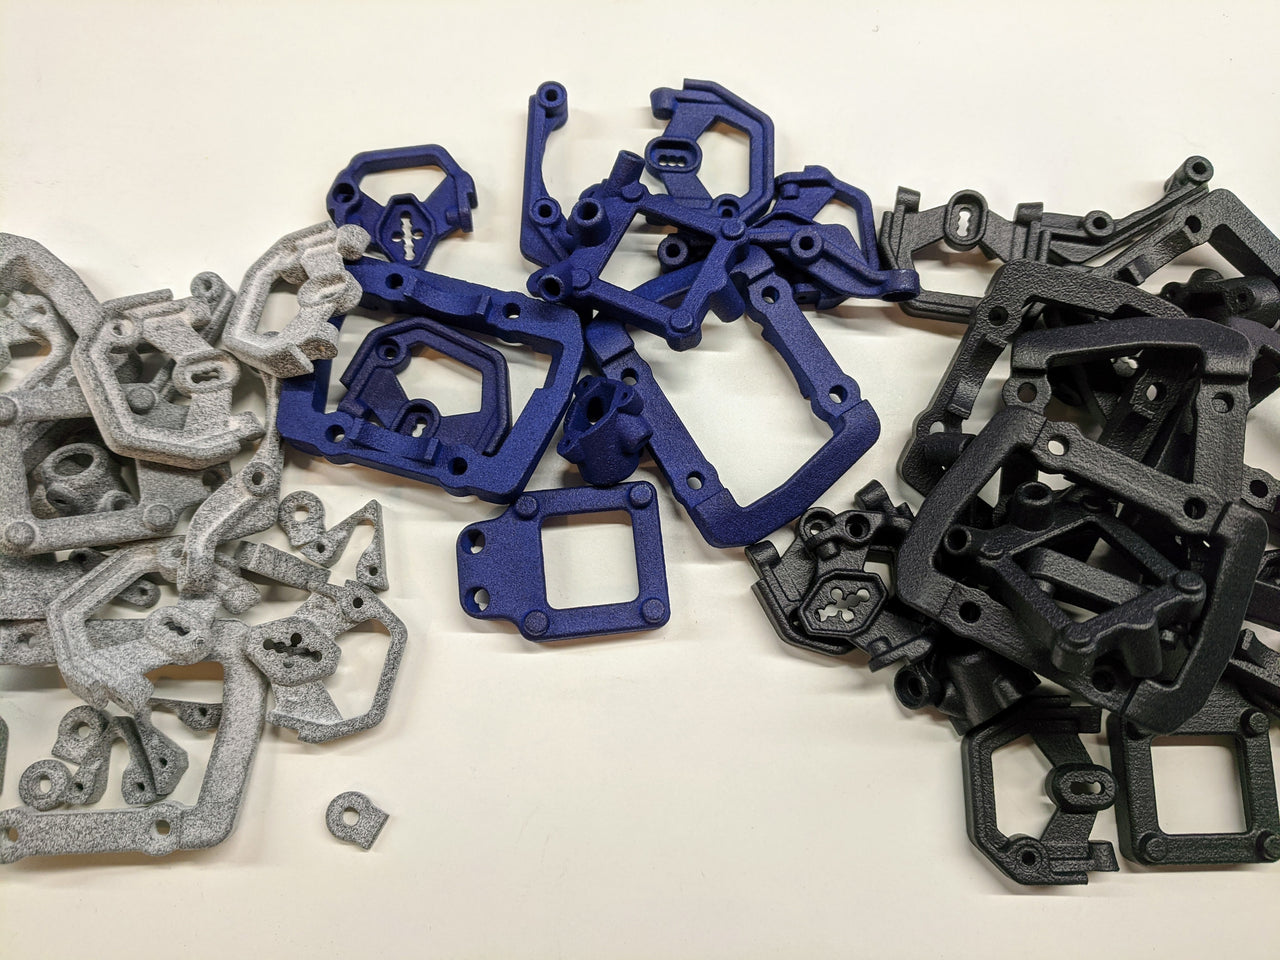
As seen below, Darter Design uses a SLS process to print our production parts. They are reinforced and hence come out with a grey tone. The grey is the reinforcing material bonded right into the Nylon base plastic. The grey is "speckled" with this reinforcing material and as such you will not be able to achieve super bright colors like neon and the like. But if you are fine with a speckled look (personally we love the specks) then give it a try!

To dye the Nylon parts, we use RIT DyeMore dyes. They can be found here direct or at the major craft stores like Michaels or JOANN.
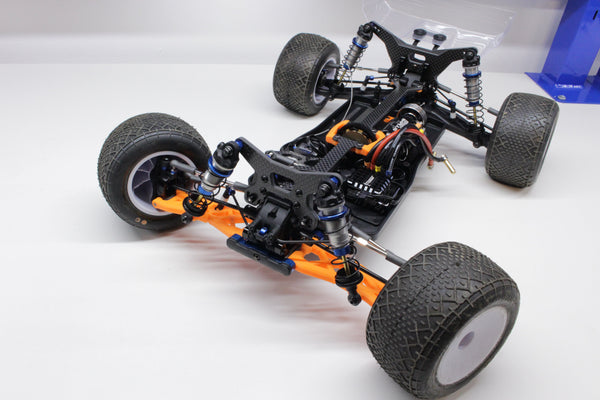
In our first attempts, what we wanted to do was better match the Hyperlite motors used on the Hornet 220 Prototype Build. The Original Dark Blue was not as favorable of a match as a Teal or Light Blue would be.

Kinda sticks out like a sore thumb, right? Well we changed that!

Want to know how we did it? Read below....
How-To Dye SLS Nylon Parts
Items Needed:
- Rit DyeMore for Synthetics
- Stainless Steel Pot
- Measuring Cup/Weight Scale
- Metal Tongs/Strainer
- White Distilled Vinegar
- Plastic Gloves
- Dishwashing Liquid
- Plastic Table Cover
Instructions:
- Before dyeing, remove any visible stains on the part. This will help achieve uniform color results when dyeing. Pre-wash parts in warm, soapy water. This helps to remove any finishes that may interfere with dye absorption.
- Cover work area around stove with plastic table cover or newspaper and have paper towels handy to protect against any possible spills.
- Wear rubber gloves to protect hands from getting stained and to insulate them when working with hot water.
- Due to the complexity of dyeing synthetics, you must use the stovetop method to maintain an almost boiling temperature for the duration of your dyeing (200ºF or greater).
- Fill a stainless steel pot with enough water for the parts to move freely.
- Add dish detergent to help promote level dyeing.
- Cover pot and heat water on stove top to just below boiling (or around 200ºF).
- When water begins to simmer, add well-shaken dye and mix well.
- Add the Vinegar and mix well again.
- Wet the item you are going to be dyeing and add it to the dye bath.
- Keep temperature at a low simmer for the duration of your dyeing.
- Stir slowly and continuously. The first 10 minutes are the most critical. Stirring helps to ensure an even color with no splotches.
- Item can remain in dye bath from 10 minutes up to one hour. Keep the parts in the dye bath for at least 30 minutes to ensure that the color takes fully. Nylon tends to dye very quickly and much darker than other plastics so the actual time needed in the dye bath is less.
- When desired color is achieved, remove from dye bath. Parts will look darker when wet and will dry lighter. Blot/Shake out excess dye.
- Rinse in warm water and then gradually cool water until rinse water begins to run clear.
- Wash in warm water with a mild detergent, rinse and dry.
- Using a Hair Dryer speeds up the drying process.
We used the following amounts to achieve our colors:
- Water: 3 cups (~700mL)
- Dye: 10mL (~9g)
- Dishsoap: 1-3 Drop/Dash
- Vinegar: 15mL (~15g)
See our results below!